


Installing LED spike lights on a hard surface can be a rewarding project that enhances the aesthetic appeal and functionality of your space. As a trusted LED spike light supplier, I'm here to guide you through the process step by step. In this blog post, I'll share valuable insights and practical tips to ensure a successful installation.
Understanding LED Spike Lights
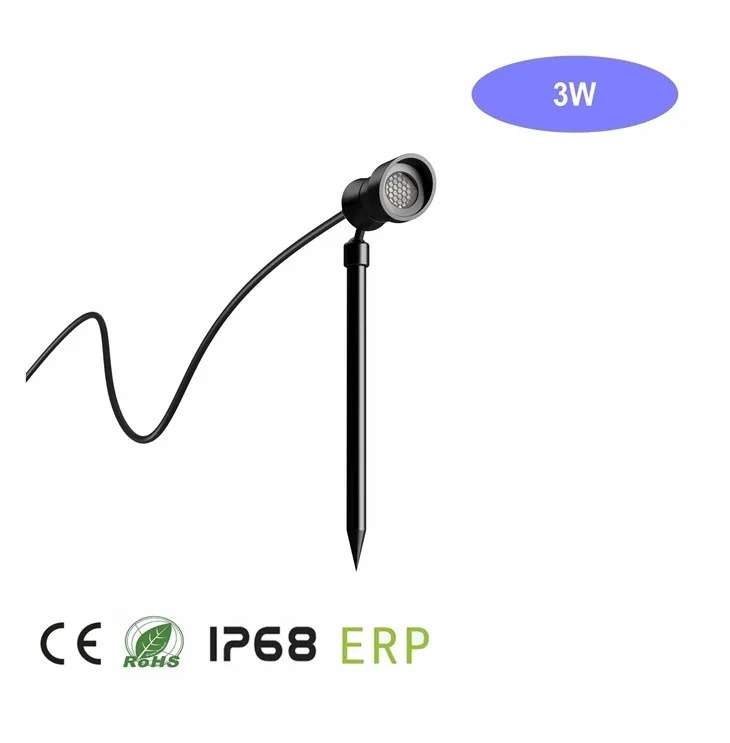
Before diving into the installation process, let's take a moment to understand what LED spike lights are and why they are a popular choice for outdoor lighting. LED spike lights are small, low - voltage lighting fixtures that feature a pointed spike at the bottom, which allows them to be easily inserted into the ground. They are energy - efficient, long - lasting, and come in a variety of styles and colors to suit different design preferences.
There are several types of LED spike lights available in the market, including 12V Spike Lights, Spike Lights, and Garden Spike Lights. Each type has its own unique features and applications. For example, 12V spike lights are often used in low - voltage lighting systems, while garden spike lights are specifically designed for outdoor garden settings.
Pre - installation Preparation
Planning Your Lighting Layout
The first step in installing LED spike lights on a hard surface is to plan your lighting layout. Consider the purpose of the lighting, the area you want to illuminate, and the overall aesthetic you want to achieve. For instance, if you're lighting a pathway, you'll want to space the lights evenly to provide consistent illumination. If you're highlighting a specific feature, such as a statue or a flower bed, you can place the lights strategically to create a dramatic effect.

Gathering the Necessary Tools and Materials
Once you have a clear plan in mind, it's time to gather the necessary tools and materials. You'll need the following:
- LED spike lights
- Drill with appropriate drill bits (for hard surfaces)
- Masonry anchors (if drilling into concrete or brick)
- Screwdriver
- Tape measure
- Pencil
- Safety goggles and gloves
Selecting the Right Location
Choosing the right location for your LED spike lights is crucial. Make sure the surface is clean, dry, and free of any debris. Avoid areas that are prone to flooding or excessive moisture, as this can damage the lights. Also, consider the proximity to a power source. If you're using battery - operated lights, this may not be an issue, but if you're using wired lights, you'll need to ensure that you can easily connect them to a power supply.
Drilling Holes in the Hard Surface
Marking the Drill Points
Using a tape measure and a pencil, mark the locations where you want to install the LED spike lights. Make sure the marks are evenly spaced and aligned according to your lighting layout. Double - check your measurements to ensure accuracy.
Drilling the Holes
Put on your safety goggles and gloves before you start drilling. If you're working on a concrete or brick surface, you'll need to use a masonry drill bit. Start by drilling a small pilot hole at each marked point. Then, gradually increase the size of the hole to fit the diameter of the masonry anchor. Apply steady pressure while drilling, and be careful not to overheat the drill bit.
Inserting Masonry Anchors
Once the holes are drilled, insert the masonry anchors into the holes. Tap them gently with a hammer to ensure they are securely in place. The masonry anchors will provide a stable base for the LED spike lights.
Installing the LED Spike Lights
Attaching the Lights to the Mounting Brackets
Most LED spike lights come with mounting brackets. Use a screwdriver to attach the lights to the brackets. Make sure the lights are firmly attached and that the brackets are aligned properly.
Securing the Mounting Brackets to the Hard Surface
Place the mounting brackets over the masonry anchors and insert the screws through the holes in the brackets and into the anchors. Tighten the screws securely using a screwdriver. This will ensure that the LED spike lights are firmly attached to the hard surface.
Connecting the Wires (if applicable)
If you're using wired LED spike lights, you'll need to connect the wires. Follow the manufacturer's instructions carefully to ensure a proper connection. Make sure the wires are insulated and protected from the elements to prevent any electrical hazards.
Testing the Lights
After installing the LED spike lights, it's important to test them to make sure they are working properly. If you're using battery - operated lights, insert the batteries and turn on the lights. If you're using wired lights, connect them to the power source and switch on the power. Check each light to ensure that it is illuminated and that there are no loose connections or other issues.
Maintenance and Troubleshooting
Regular Maintenance
To keep your LED spike lights in good working condition, it's important to perform regular maintenance. Clean the lights periodically to remove any dirt, dust, or debris. Check the connections and wiring for any signs of damage or wear. Replace any faulty bulbs or components as needed.
Troubleshooting Common Issues
If you encounter any issues with your LED spike lights, such as a light not working or a flickering light, there are a few things you can do to troubleshoot. First, check the power source to make sure it is working properly. If you're using battery - operated lights, replace the batteries. If you're using wired lights, check the connections and look for any loose or damaged wires. If the problem persists, contact the manufacturer or a professional electrician for further assistance.
Conclusion
Installing LED spike lights on a hard surface is a relatively straightforward process that can greatly enhance the beauty and functionality of your outdoor space. By following the steps outlined in this blog post, you can ensure a successful installation. As a leading LED spike light supplier, we offer a wide range of high - quality LED spike lights to meet your specific needs. Whether you're looking for 12V Spike Lights, Spike Lights, or Garden Spike Lights, we have the perfect solution for you.
If you're interested in purchasing our LED spike lights or have any questions about the installation process, please don't hesitate to contact us. We're here to provide you with the best products and support to help you achieve your lighting goals.
References
- General knowledge about LED lighting technology and installation practices.
- Manufacturer's instructions for LED spike lights.
- Industry standards for outdoor lighting installation.


