


Hey there! As a supplier of Outdoor Spike Lights, I often get asked about how to replace the bulbs in these nifty little lights. It's actually a pretty straightforward process, and I'm here to walk you through it step by step.
First off, let's talk a bit about Outdoor Spike Lights. These are great for adding some extra illumination to your outdoor spaces, whether it's your garden, patio, or driveway. They're easy to install and can really enhance the overall look and feel of your outdoor area.
Now, onto the main topic: replacing the bulbs. The first thing you need to do is make sure the power is turned off. This might seem like a no-brainer, but it's crucial for your safety. You don't want to get electrocuted while you're trying to change a bulb!
Once you've turned off the power, locate the bulb in your spike light. Most outdoor spike lights have a simple design that allows you to easily access the bulb. Some might have a cover or a cap that you need to remove. Just use your fingers or a small tool to gently pry it off.
After you've removed the cover, you'll see the bulb. Carefully grasp the bulb and give it a gentle twist counterclockwise. This should loosen the bulb from its socket. If it's a bit stuck, don't force it. You can try wiggling it gently while you twist to help it come loose.
Once the old bulb is out, take a look at the type of bulb it is. Outdoor spike lights typically use LED bulbs because they're energy-efficient and long-lasting. Make sure you get a replacement bulb that has the same wattage and base type as the old one. You can find these bulbs at most hardware stores or online.
Now, it's time to install the new bulb. Take the new bulb and align it with the socket. Gently insert it into the socket and give it a clockwise twist until it's securely in place. Make sure it's tightened enough so that it won't come loose easily, but don't over-tighten it either.

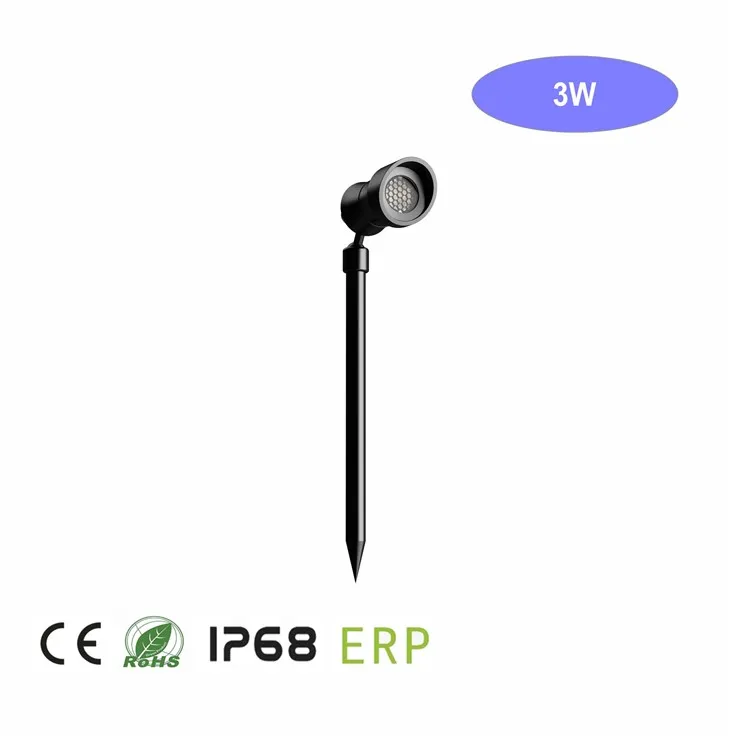
After you've installed the new bulb, put the cover back on. Make sure it's properly secured so that it protects the bulb from the elements.
Once you've replaced the bulb and put the cover back on, it's time to turn the power back on. Cross your fingers and hope that the new bulb lights up! If it doesn't, double-check to make sure the bulb is properly installed and that the power is actually on.
Now, let's talk about some tips and tricks to make the process even easier. First, it's a good idea to keep a few extra bulbs on hand. That way, if one burns out, you can replace it right away without having to run to the store.
Also, when you're handling the bulbs, try to avoid touching the glass part with your bare hands. The oils from your skin can cause the bulb to overheat and burn out faster. If you do touch the glass, you can clean it with a soft cloth and a little bit of rubbing alcohol.
Another tip is to check your spike lights regularly. This will help you catch any issues early on and prevent them from getting worse. You can also clean the lights periodically to keep them looking their best.
If you're having trouble replacing the bulbs or if you have any other questions about Spike Lights, don't hesitate to reach out. As a supplier, we're here to help you with any issues you might have.
Whether you're looking to replace a single bulb or you're interested in purchasing a whole new set of Garden Spike Lights, we've got you covered. We offer a wide range of high-quality outdoor spike lights that are designed to meet your needs.
If you're in the market for outdoor spike lights or you have any questions about our products, feel free to get in touch. We'd love to have a chat and help you find the perfect lighting solution for your outdoor space.
In conclusion, replacing the bulbs in outdoor spike lights is a relatively simple process. Just follow the steps I've outlined above, and you'll have your lights up and running in no time. And remember, if you ever need any help or have any questions, we're here for you.
References:
- General knowledge about outdoor lighting maintenance and product information from our inventory.


